
-

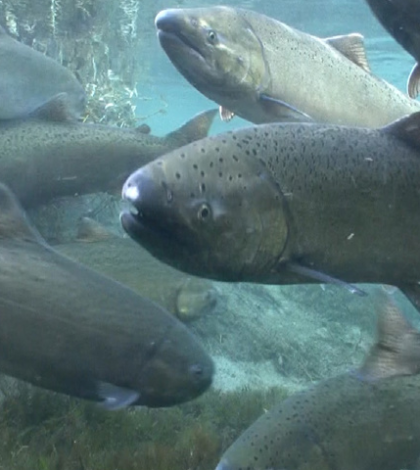
Fishing Reports – April 24, 2024
Washington A reminder for Washington anglers: 2023-2024 licenses expired on March 31, 2024 and anglers will...
-
WDFW: Skagit River to open for hatchery spring Chinook
Action: Opens a portion of the Skagit River to fishing for hatchery spring Chinook. Effective date: April 24...
-
WDFW: Public invited to provide input on 2025-2026 coastal recreational bottomfish fisheries
OLYMPIA – The Washington Department of Fish and Wildlife (WDFW) is hosting a virtual public meeting...
Latest News
-
 Fishing Reports – April 24, 2024
Washington A reminder for Washington anglers: 2023-2024 licenses expired on March 31, 2024 and anglers will need new licenses for April 1, 2024 through March 31, 2025. You can...
- April 24, 2024
-
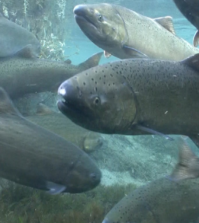 WDFW: Skagit River to open for hatchery spring Chinook
Action: Opens a portion of the Skagit River to fishing for hatchery spring Chinook. Effective date: April 24 through May 31, 2024 Species affected: Chinook salmon Location: Skagit River (Skagit Co.); from...
- April 22, 2024
-
 WDFW: Public invited to provide input on 2025-2026 coastal recreational bottomfish fisheries
OLYMPIA – The Washington Department of Fish and Wildlife (WDFW) is hosting a virtual public meeting on Wednesday, April 24 at 5 p.m. to discuss management options for coastal...
- April 22, 2024