
Herring Rigging Made Simple
I’m sure there are hundreds of ways to rig herring for mooching or trolling, however, I really believe the simpler the better. I’m very basic in my rigging techniques; the quicker my herring is back in the water, the more fish I catch.
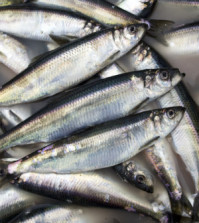
Good herring has become harder and harder to find. Look for herring that is vacuum packed. If none is available, at least look for herring that isn’t freezer burned or has sunken eyes.
Some anglers are lucky enough to have live herring available in their area. That’s great, but live or packaged, before you use the herring, it should be brined. This preserves the brightness of the scales and firms the meat.
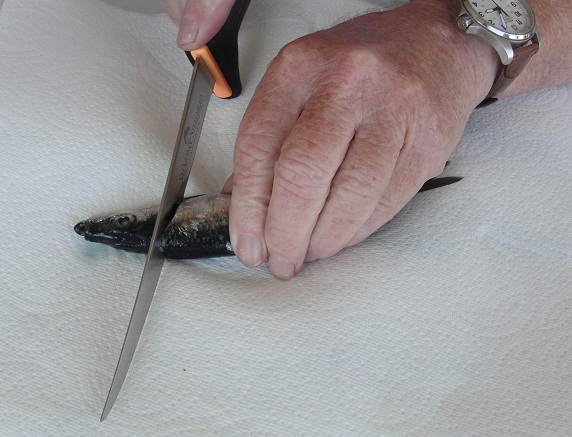
Before brining, slice and clean your herring so that the inside also toughens up. It’s important that you use a sharp knife that will slice through the herring in one smooth stroke. If you saw at the herring, you will leave a jagged edge that will peel back, degrade, and destroy the action of your bait in the water. After your smooth slice, wipe your knife blade clean, removing any herring scales from the blade. Herring scales are quite tough and will tear the edges of your bait if not removed.
When cutting off the head of the herring, tilt your knife about 20 degrees and angle the knife back about 30 degrees.
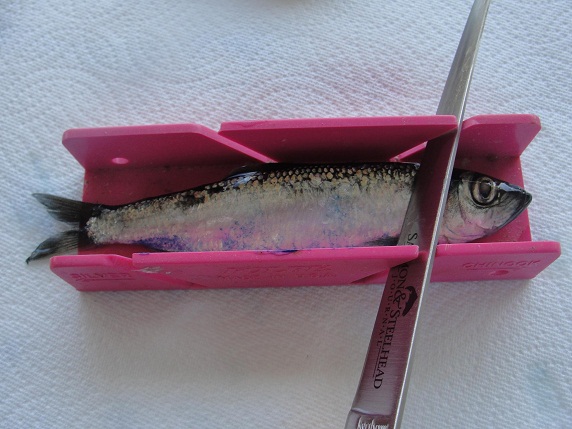
Even better, use one of the Folbe Cut Plug Guides. It takes the guesswork out of the slicing, as one end is angled for Chinook and the other for Coho. This gives you a perfect cut every time and ensures correct action on your bait.
While it’s nice if you like to tie hooks to match the size of your herring, it’s neither important, nor efficient. So, before pre-tying your hooks, lay out your bait and do a rough estimate of separation of the hooks you will need and tie away.
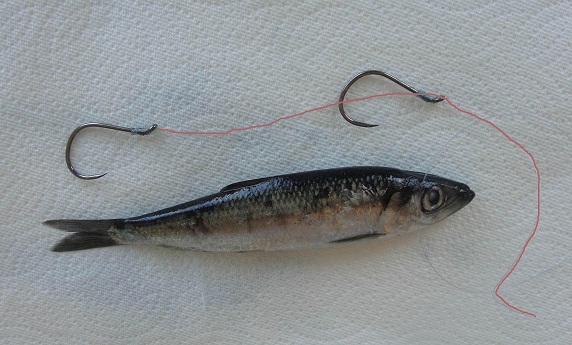
Use a solid tie. We do not recommend using a slip tie. The problem with a slip tie is that it slips! The top hook will slip down and cut off the bottom hook. Good-bye fish!
Your herring is brined and you’re out on the water and it’s time to rig the bait.
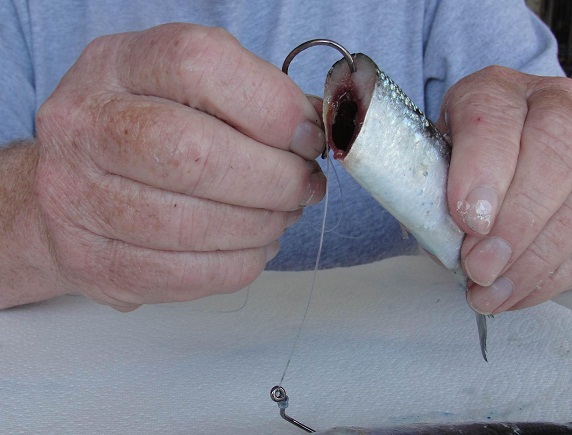
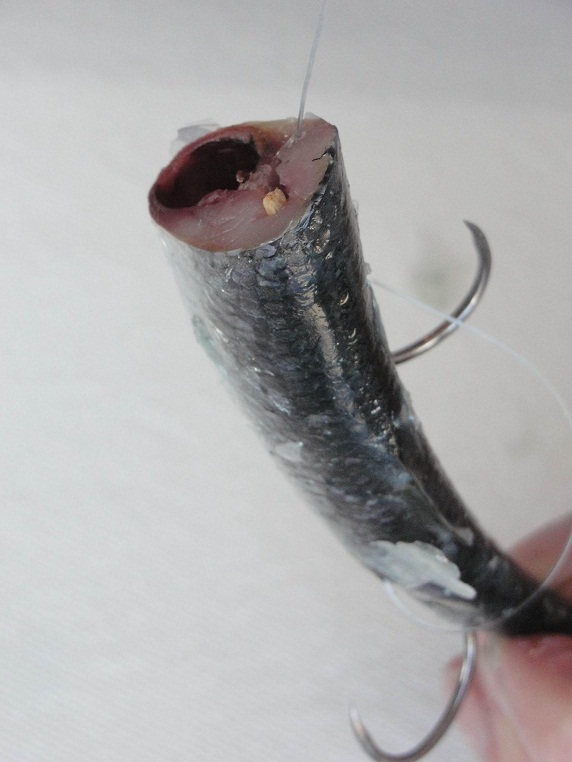
Insert the top hook just above the backbone and pull in through the herring.
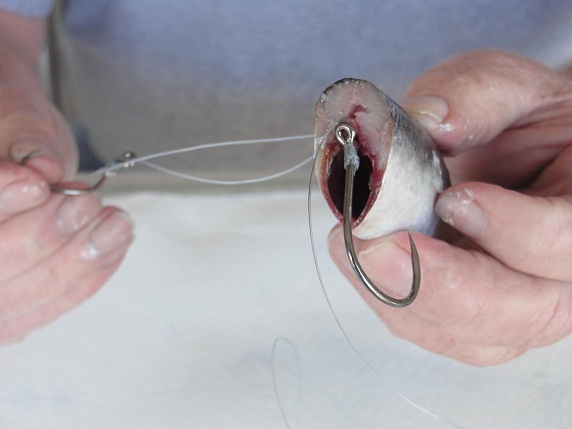
Pull on the leader and slide the bottom hook through the same hole.
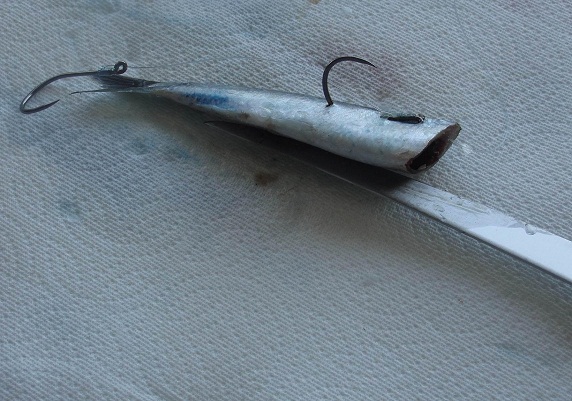
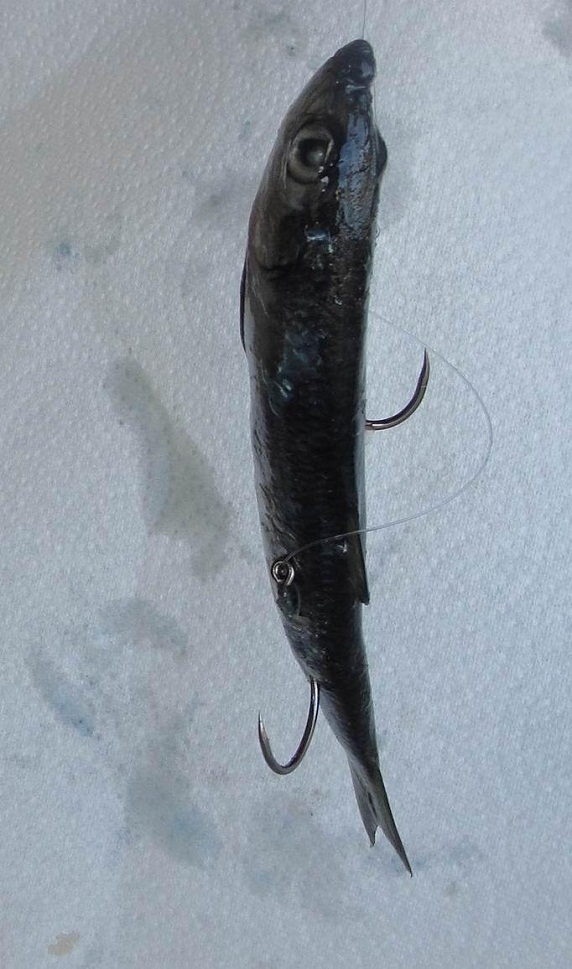
If trolling or motor mooching with herring, you can let the bottom remain free, either at the tail or slightly behind it. Salmon are often short strikers, so leaving the hook back will improve your chances of a solid hook up.
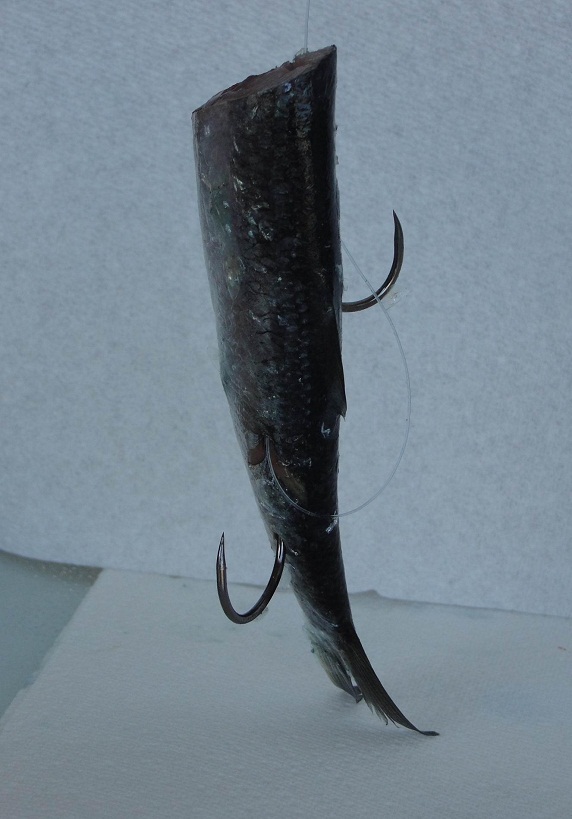
If drift mooching, but also trolling, you can insert the tail hook on the opposite side of the herring. “Wait a minute,” you say, “I’ve got too much leader and it’s got a loop hanging free.” Good! That loop will catch on the salmon, lingcod or halibut’s teeth and make it easier to hook the fish.
Now we must get our herring to roll with the correct action. Too much tail flop is so unnatural that no salmon will pick it up.
Wounded herring roll in a tight spiral, almost like a drill bit. The hard part is getting that tight roll. The best method to achieve this correct action and tight roll was taught to me by a gentleman named John Jute. John won almost every major salmon derby held “way back when.” He was nicknamed “Toothpick John Jute.”
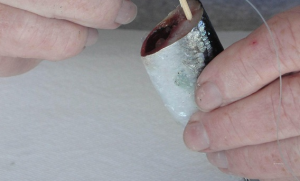
 To achieve the slight bend to the herring, John just gave a slight bend to the herring and then inserted a toothpick along the backbone. He would then strip out about ten feet of line and slowly reel the herring back in to check the action. Too much tail flop, he would take the toothpick out and re-insert it with less bend to the herring. This simple toothpick method keeps your herring working correctly until something hits.
Hooking up a whole herring is harder. The easiest way is to insert both hooks and giving it a slight bend, tie 3 half hitches around the nose of the herring to hold the bend in place. It’s hard to get the correct roll with this method, but with a little practice you can do it.
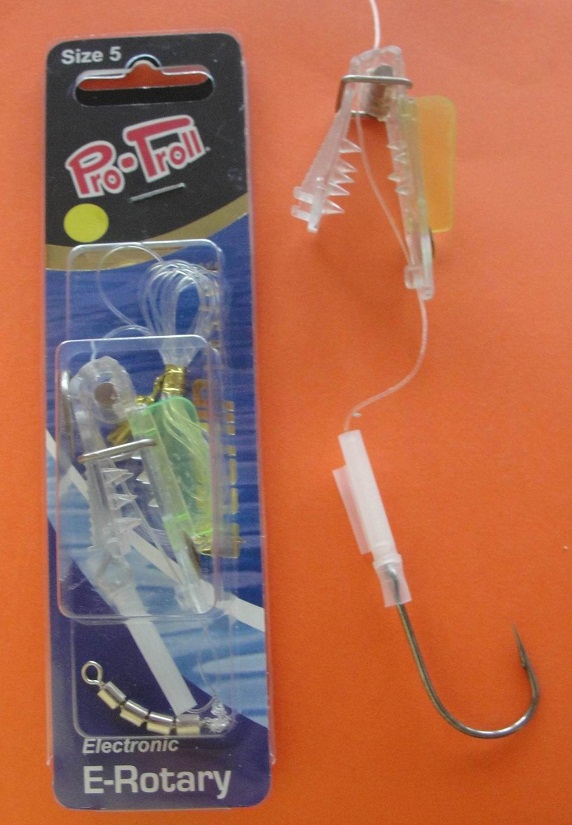
The easiest method for trolling with herring is using the Pro-Troll E-Rotary Plastic Bait Holder. This plastic bait holder ensures that your herring has the correct action and the e-chip causes harder strikes.
Open the jaws, insert herring, squeeze head of E-Rotary to sink the teeth into the herring, slide metal sleeve tight and you’re ready to go. The fin on the side of the E-Rotary gives it that tight roll.


You may also be interested in ...
