

How to Fillet a Salmon
OK, so we’ve removed the ribs, fins, and belly lining, so now we move on to the very optional stuff.
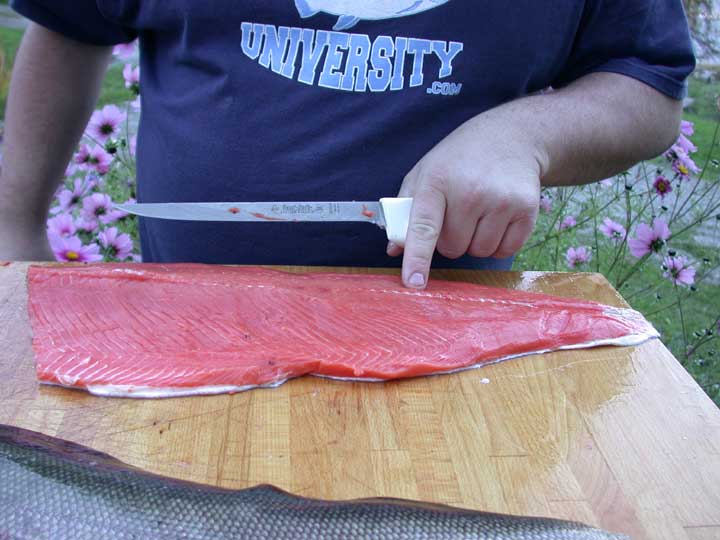
See the white specks I’m pointing at? It’s actually little pieces of the backbone that were trimmed off when I cut this fillet. Almost everyone I know just leaves these “knuckles” in their fillet, but I prefer to remove them. I think removing them looks great, and it opens up the fillet a lot more so that any sauces you use in cooking will soak in better… it’s just a minor detail.
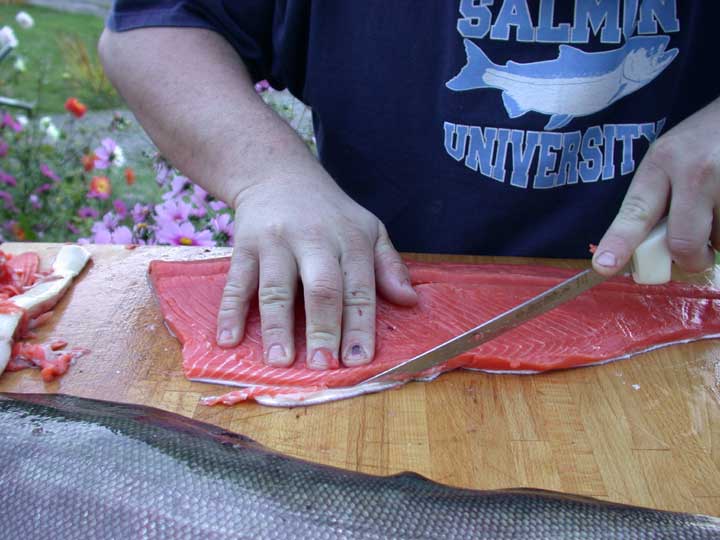
Start by straightening out your fillet so the backbone line is in a straight line… this will help a lot. What you want to do is make a long “V” shaped cut, with the bottom of the “V” underneath the pieces of bone. Angle your knife at a 45° angle both ways… and carefully cut just to one side of the backbone line, with your blade angled towards the center of the line, so the tip of the blade is maybe 1/4″ deep in the fish. Cut all the way along the fish, to the tail.
Turn the knife around and make the second cut just to the other side of the backbone line, again, all the way down the fish.

You should end up with a long, triangle-shaped piece of scrap meat that has the pieces of bone on one side.
It will probably still be attached near the tail by a short white piece of gristle. The white piece will still be attached to the skin. Pull up on this white piece and trim it from the skin, and trim off whatever white or gray meat you want trim off near the tail.
Come back and trim off any other fatty pieces near the belly, or any gristle pieces near where the dorsal and anal fins used to be.

You may also be interested in ...

